Introduction to Generative AI and Amazon Bedrock
Generative AI is transforming the way we build and interact with applications. These applications can generate content, automate processes, and offer personalized experiences by leveraging machine learning models. One such platform that facilitates the building of generative AI applications is Amazon Bedrock. Amazon Bedrock is the easiest way to build and scale generative AI applications with foundation models
Step 1: Get Foundation Model Access
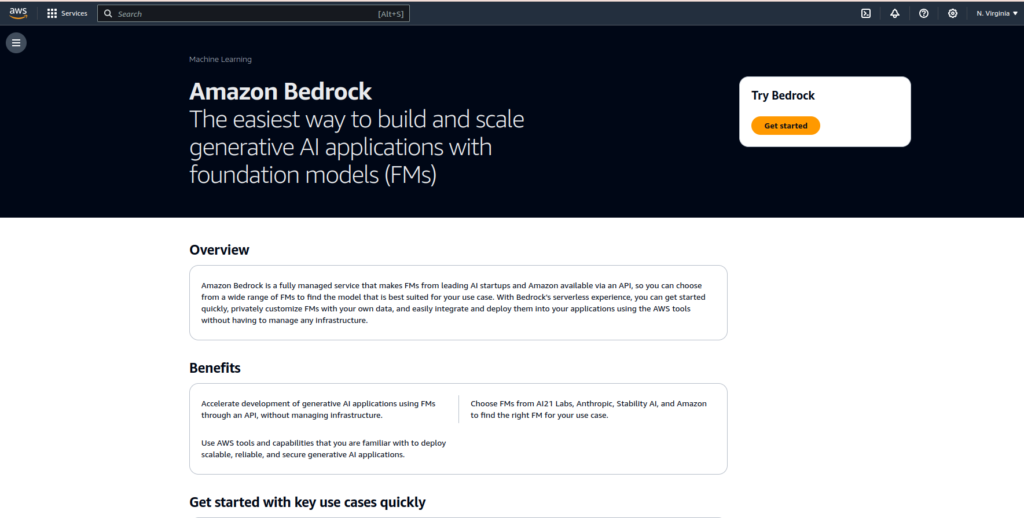
Before diving into the practical demo, you must set up your development environment. Start by creating an AWS account if you don’t already have one. Once logged in, navigate to the Amazon Bedrock service. For this practical demo, I’m using the root account in AWS. Click on Get Started and move on to request access.
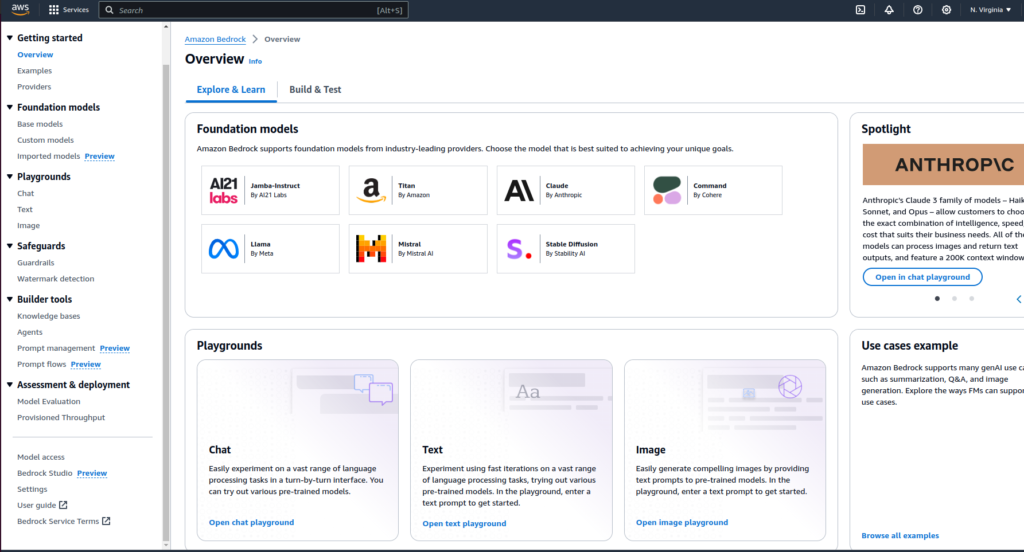
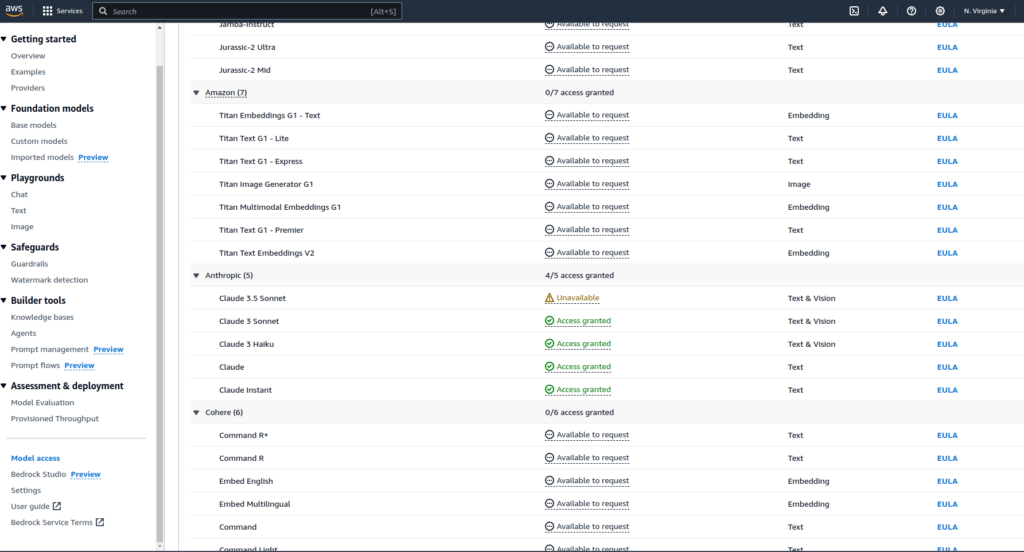
You will have the option for Model access on the left side of the Amazon Bedrock console page. Click on that, and try to request access to Anthropic Claude 3 Sonnet . For this demo purpose, I’m using the model Claude 3 Sonnet. As you can see below, I requested for 4 models of Anthropic, but I’m using Claude 3 Sonnet for this demo.
Step 2: Write Lambda Function in Python
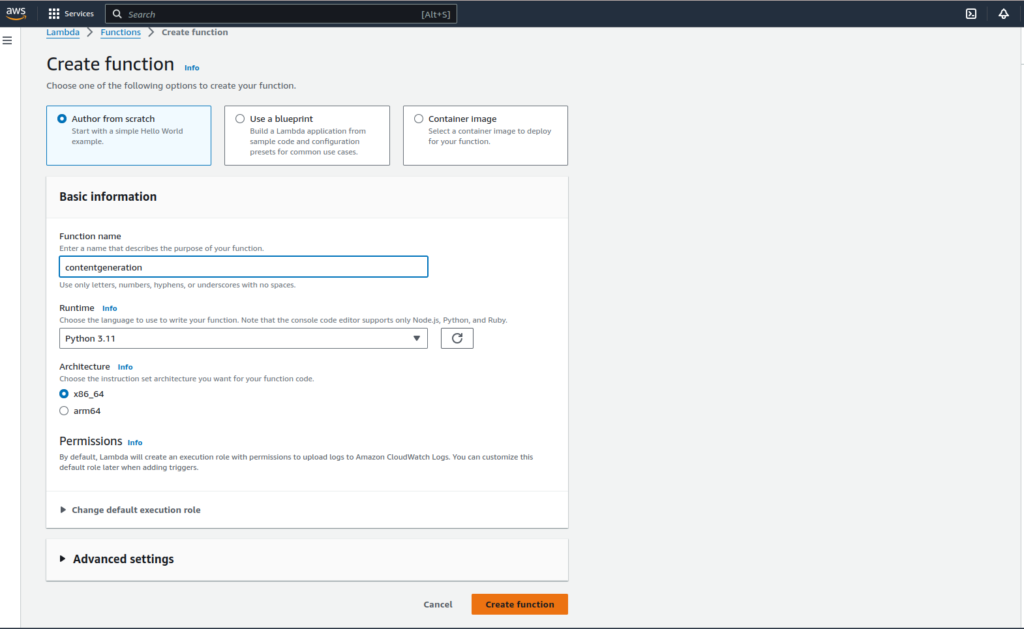
Please navigate to the AWS Lambda console page and click on the create function.
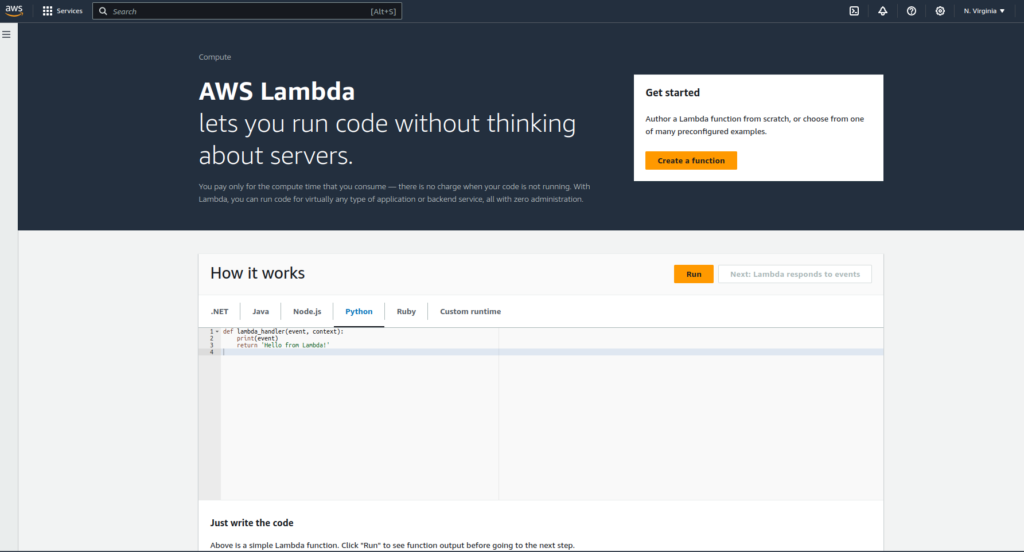
Please select the Python runtime version as Python 3.11, see the below settings, and click on the create function to create. It takes a couple of seconds.
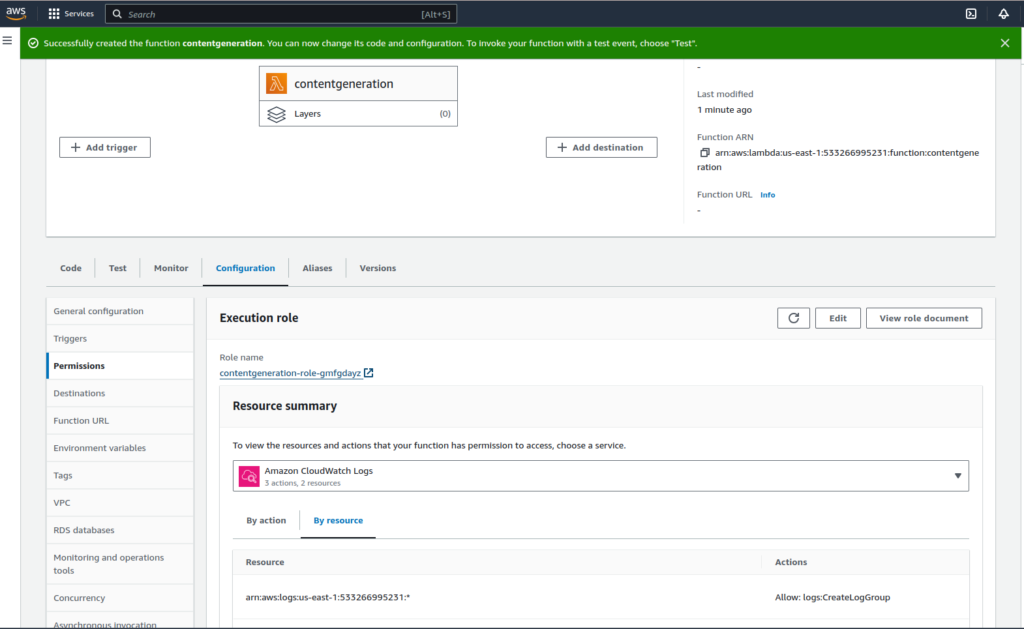
Once the function is available, click on the function and navigate to permissions, we need to add administrator policy to the role that you see on that page.
In my case role name is ‘contentgeneration-role-gmfgdayz’ and I will open that role. Once you opened, you will have the option ‘Add Permissions’ on the right side,
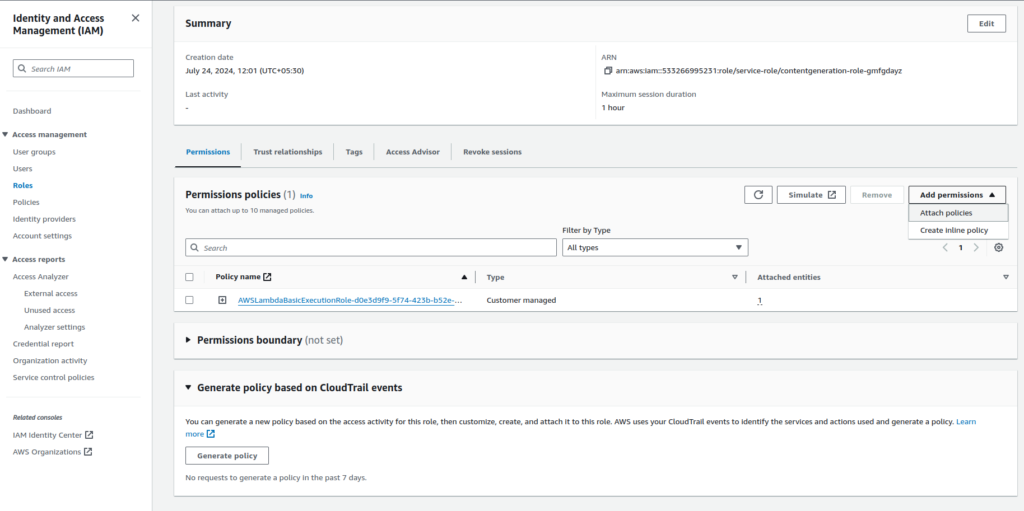
Click on Attach policy and select Administrator policy, then attach to the role.

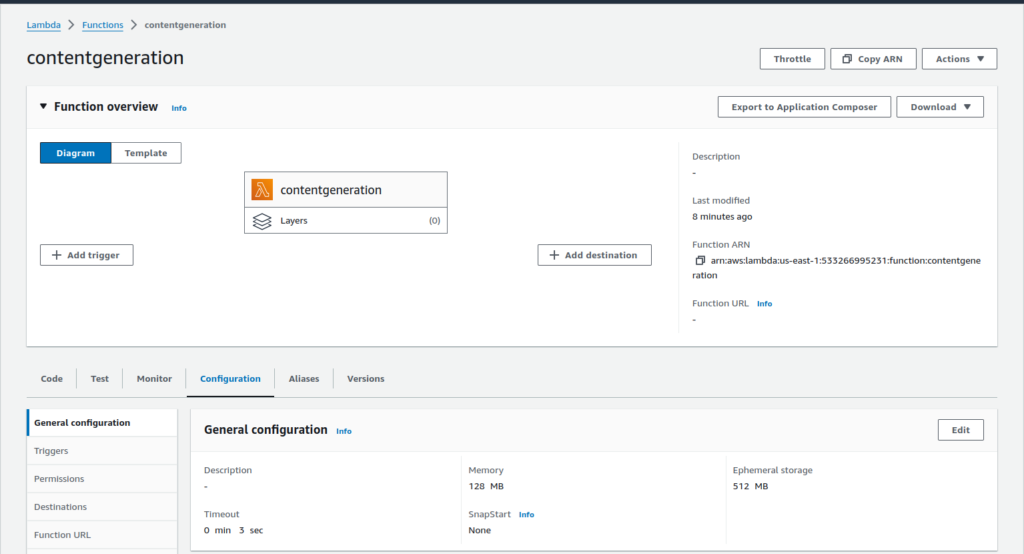
Now you go back to the Function page, Click on Configuration->General Configuration, and edit the default timeout (ie presently it’s 0min 3 sec) to 5 min.
Now you can click on the tab ‘Code’ and remove the default code, insert this code
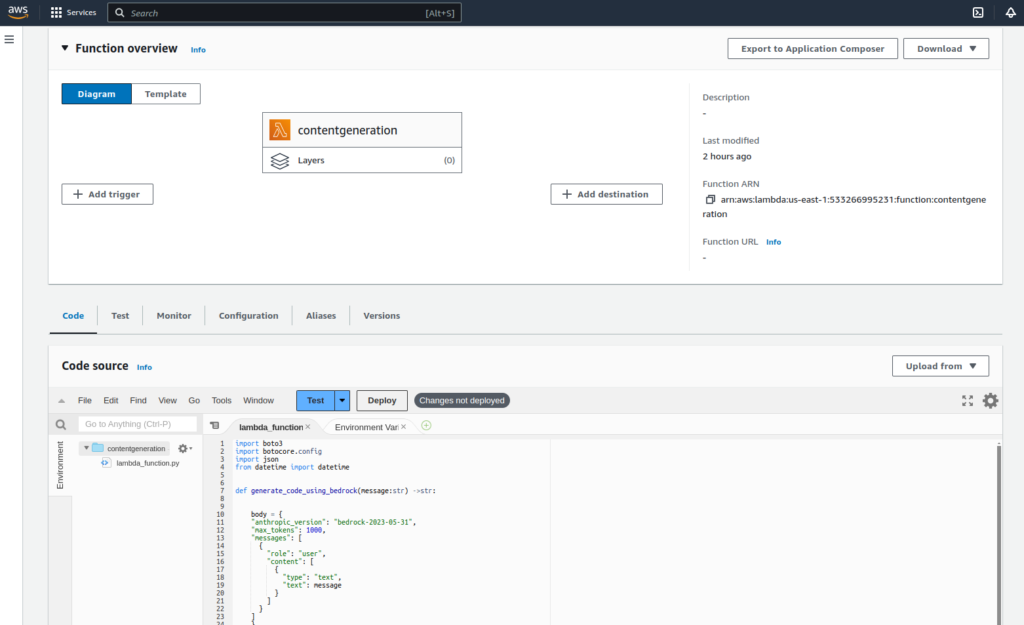
Step 3: Setup API gateway and integrate it with the Lambda function
Navigate to the API Gateway console choose HTTP API, and proceed with the setup as per the below screenshots.
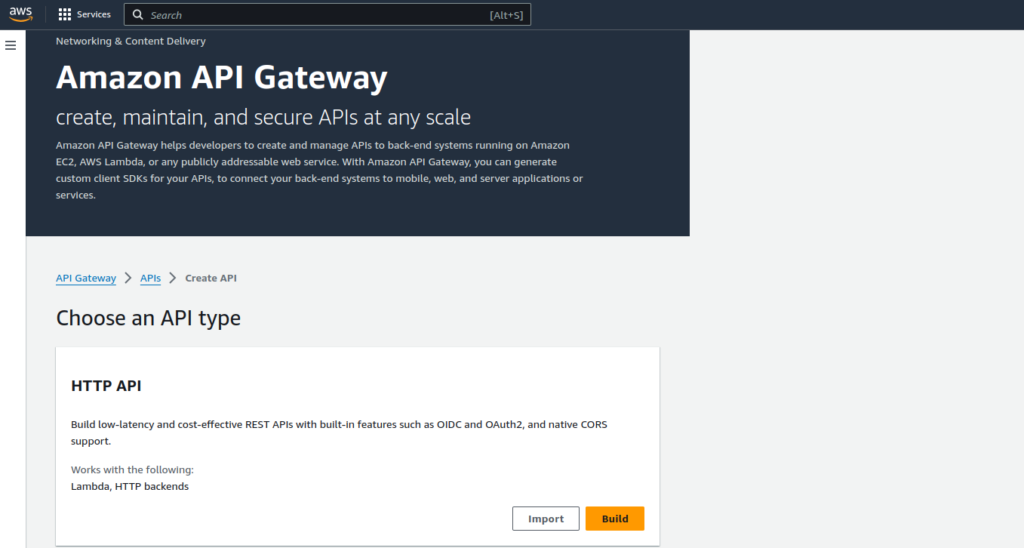
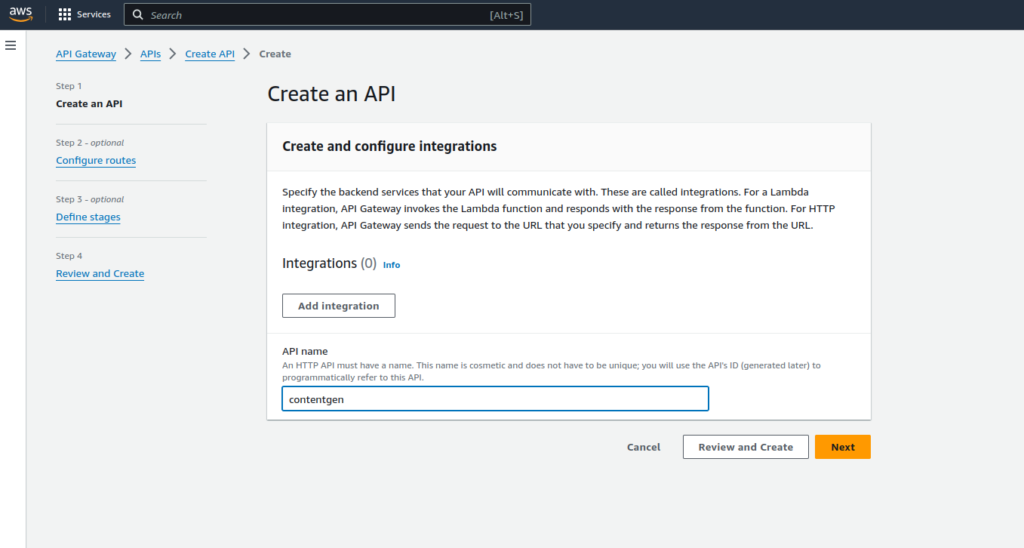
Click on ‘Review and Create’ to complete the steps. NB: You can avoid optional steps.
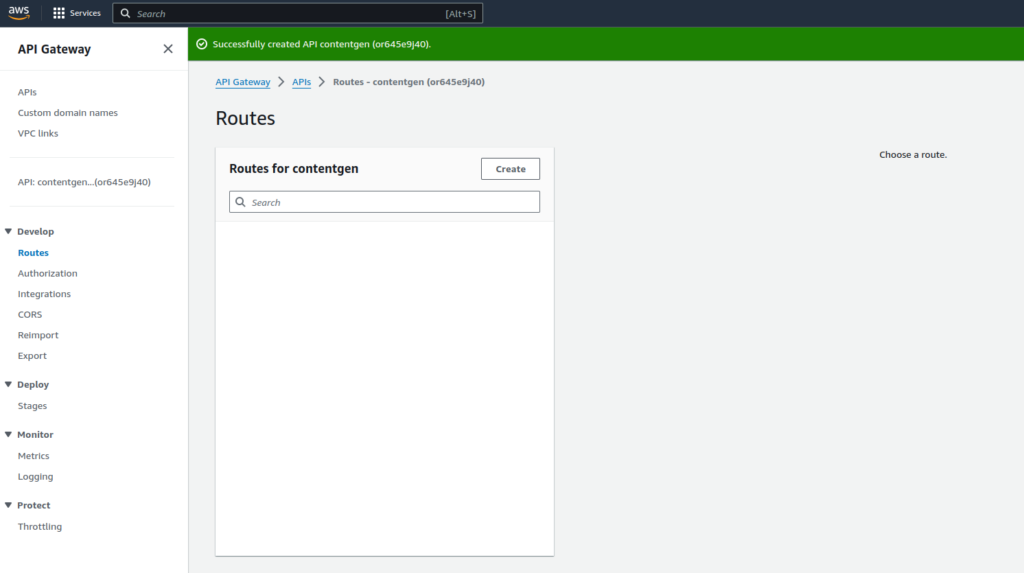
Create a new route for POST, I’m giving a name like /contentplay
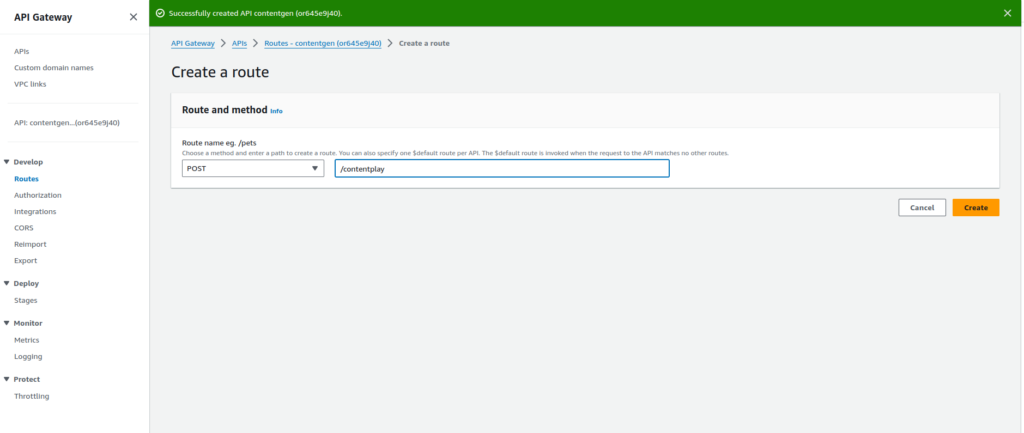
Once you create it, you can click on Routes and just click on the POST route which we created just before, here you will have the option to attach integrations. Integrate our lambda function. Please see the below screenshot for entries
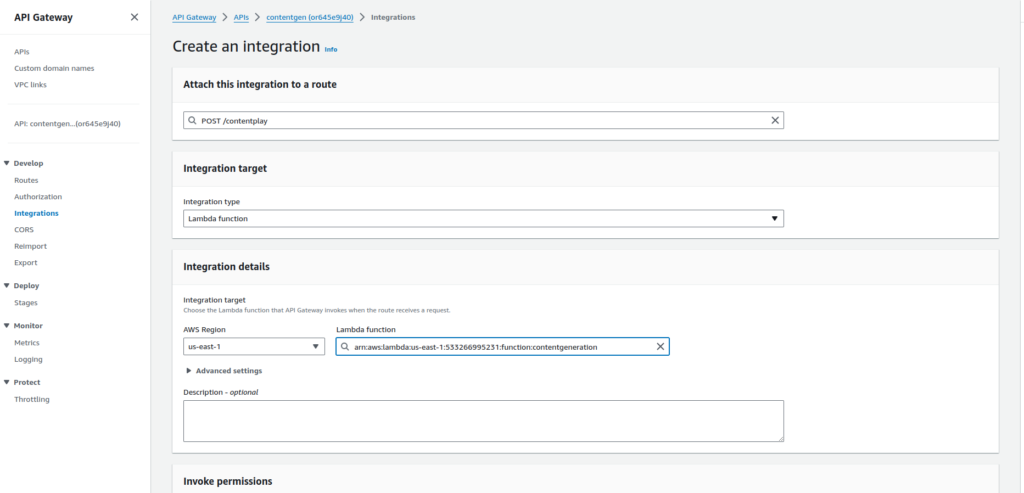
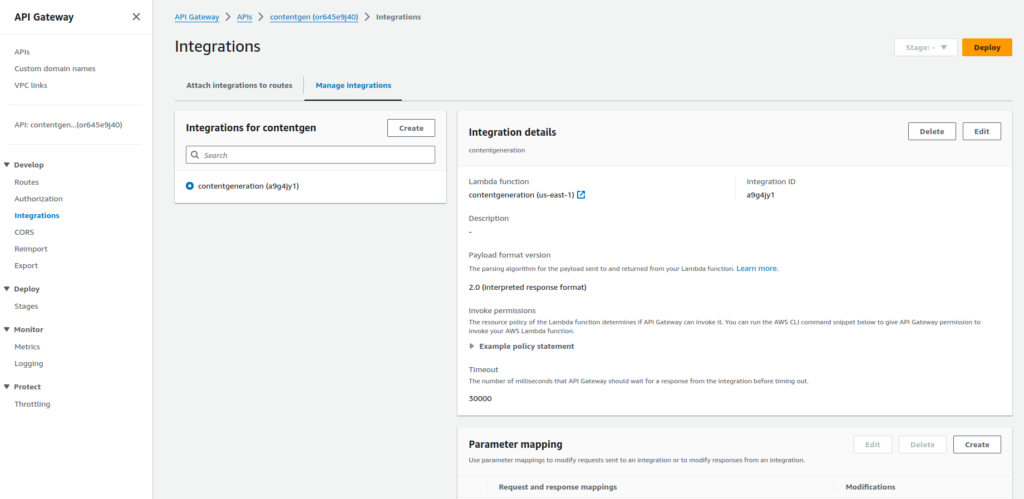
After the Lambda function is integrated, you can verify the integrations of the API gateway as well.
Once you completed the integration part, please select the Deploy->Stages option at the left sidebar. Create a stage, I created a ‘dev’ stage.
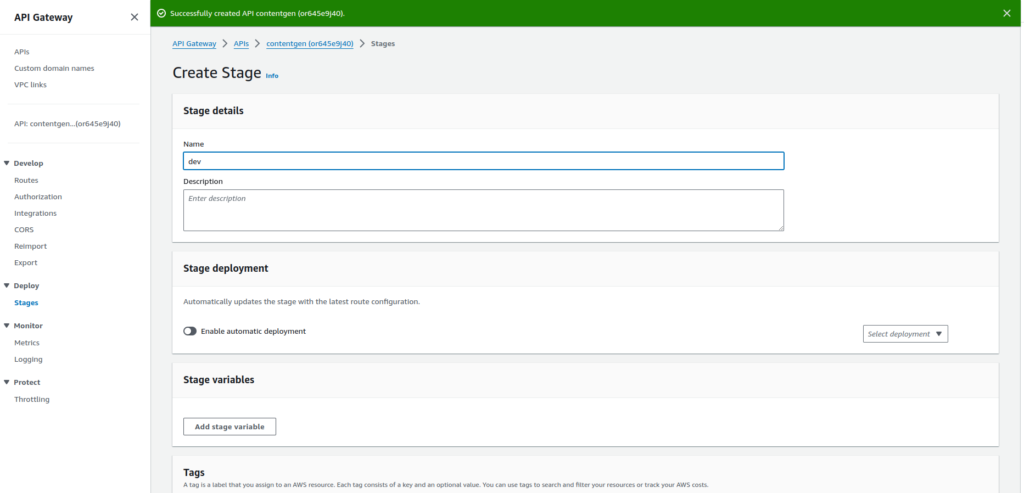
After the stage is created, you navigate back to the Develop->Routes section from leftlane and deploy by selecting the ‘dev’ stage.
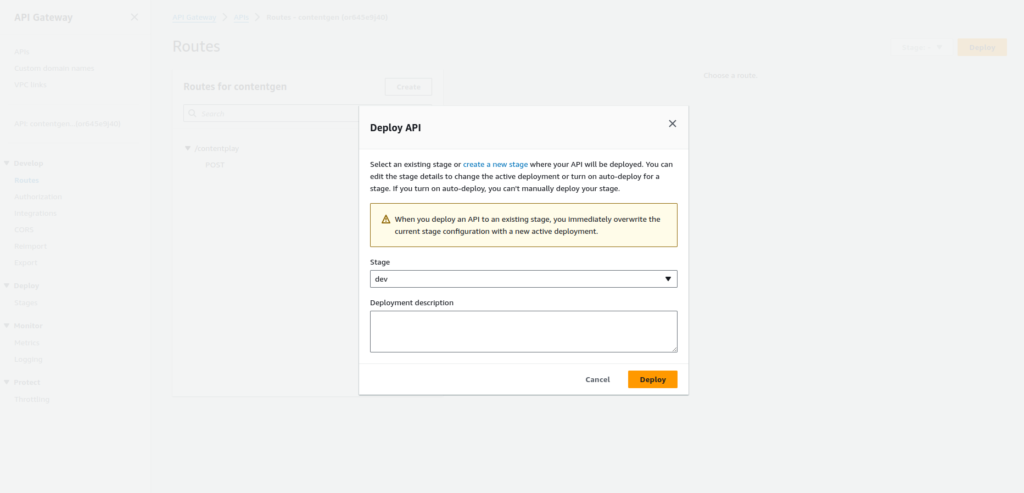
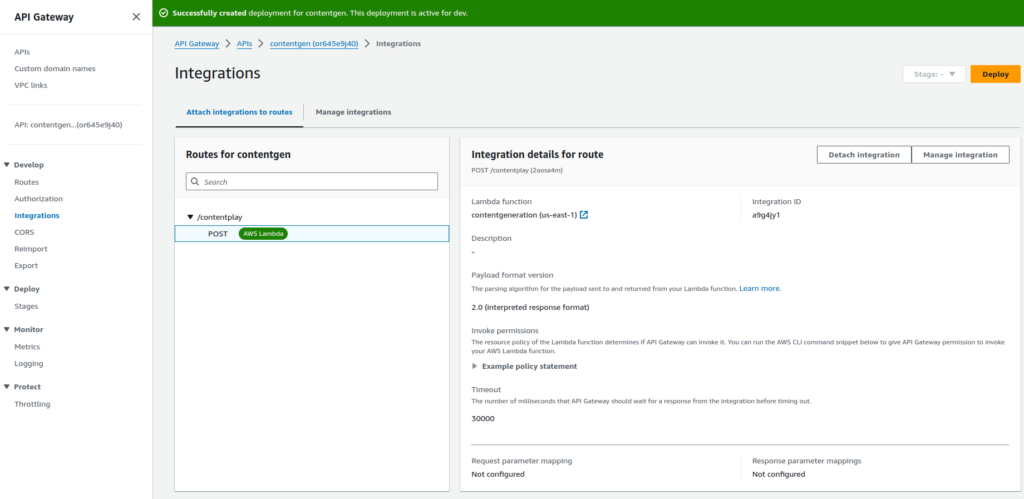
We can identify the API Gateway endpoint which is the invoke url to call lambda function. Navigate to Stages and select Dev. In my case, url is https://or645e9j40.execute-api.us-east-1.amazonaws.com/dev
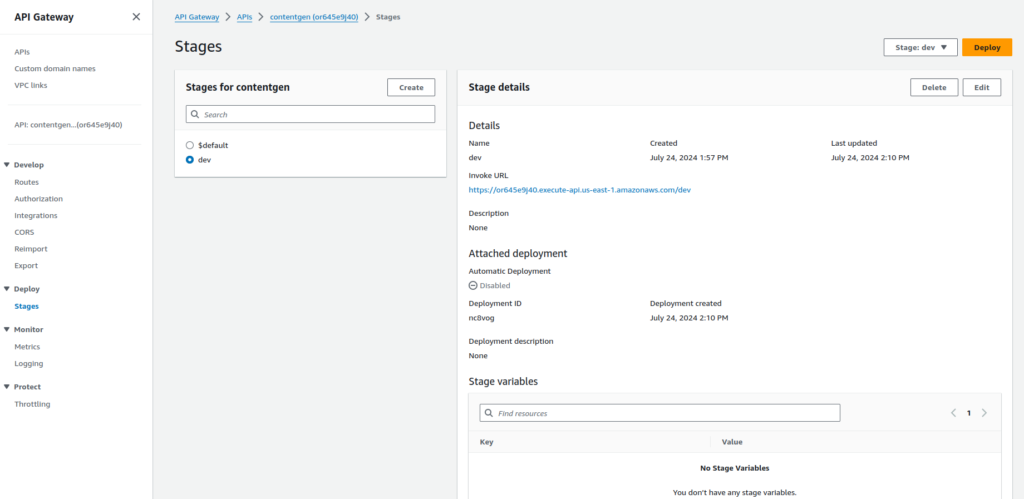
Step 4: Add Boto3 Lamda Layer
In this step, we need to create a Lambda layer. For that, you need to execute the below commands on your local machine(Linux/Mac)
mkdir boto3_layer
cd boto3_layer && mkdir python
python3 -m venv venv
source venv/bin/activate
pip install boto3 -t ./python
deactivate
zip -r boto3_layer.zip ./python
Now navigate to the Lambda page in the AWS console, click on layers in the left lane, and proceed with the create layer.
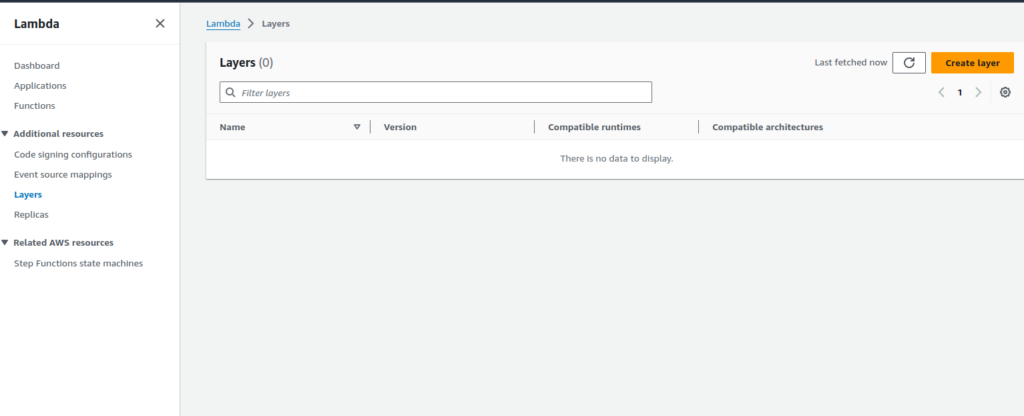
See the below image for the settings while we create a layer. Please insert accordingly.
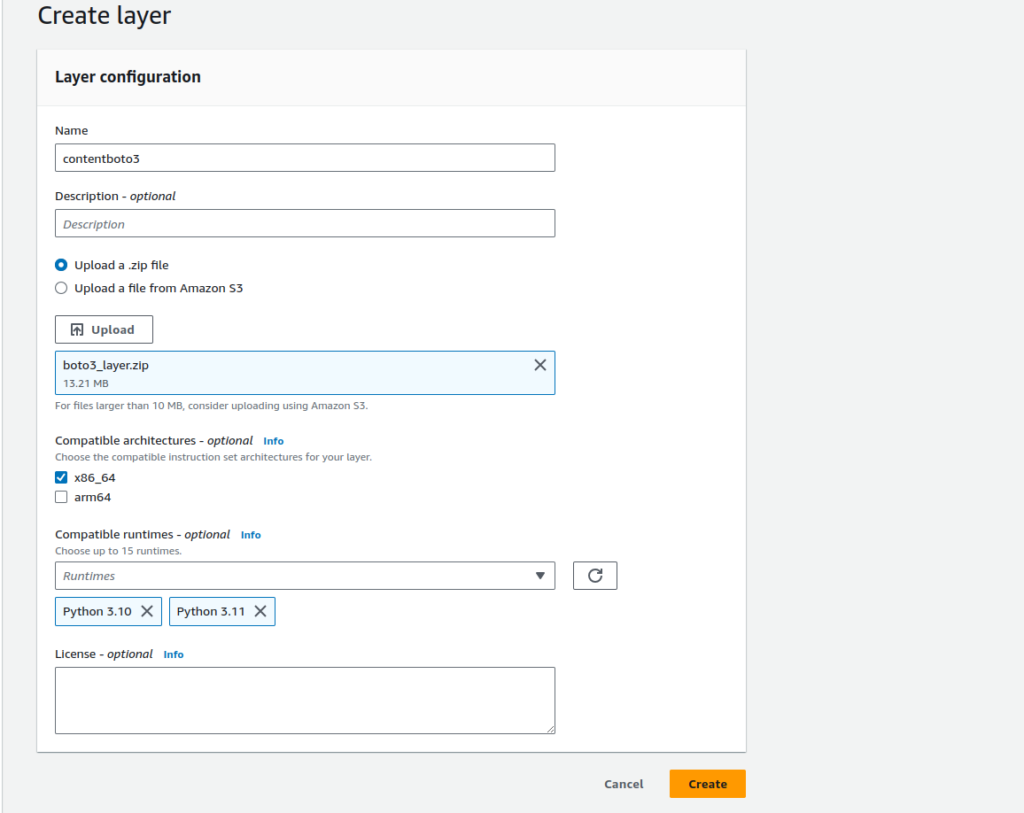
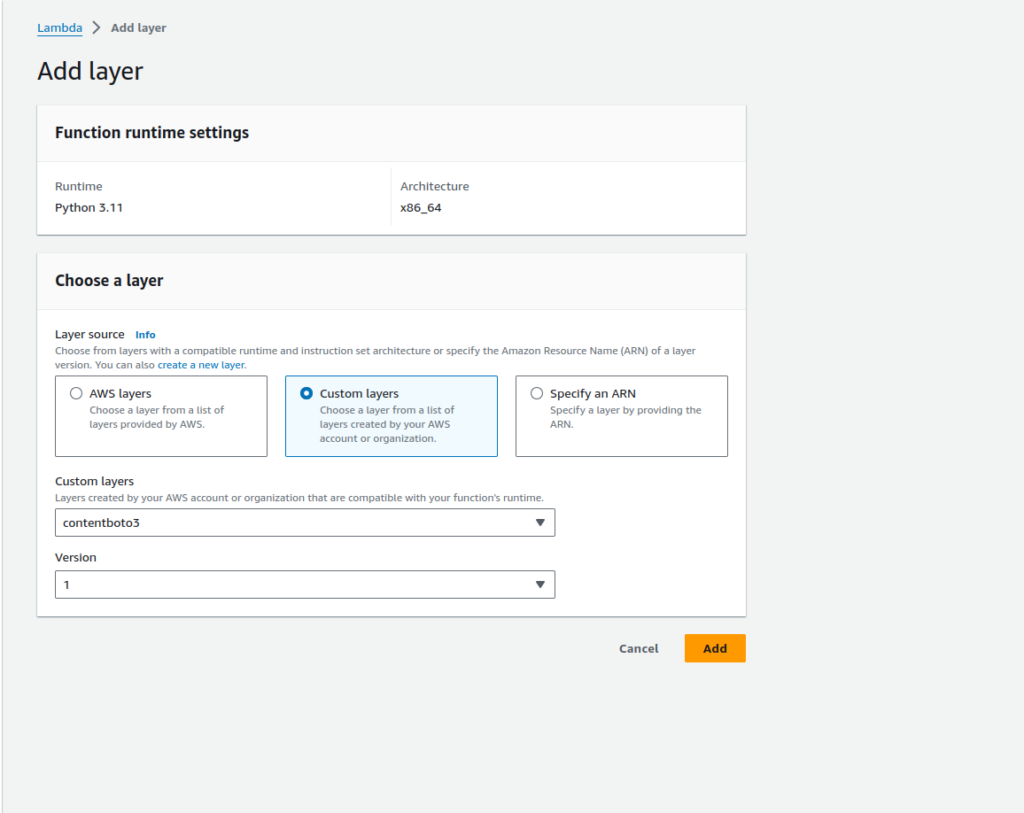
After layer creation, navigate back to your lambda function and scroll down to see the layer add option. Select the previously created layer and add
Step 5: Front End Setup
In this stage, I’m going to deploy a very simple react form frontend to collect the user input and display the response back in UI. The code for the front end will be available here. In the src folder, you need to update your API invoke URL in app.js file. At the moment I have hardcoded the URL for this demo.
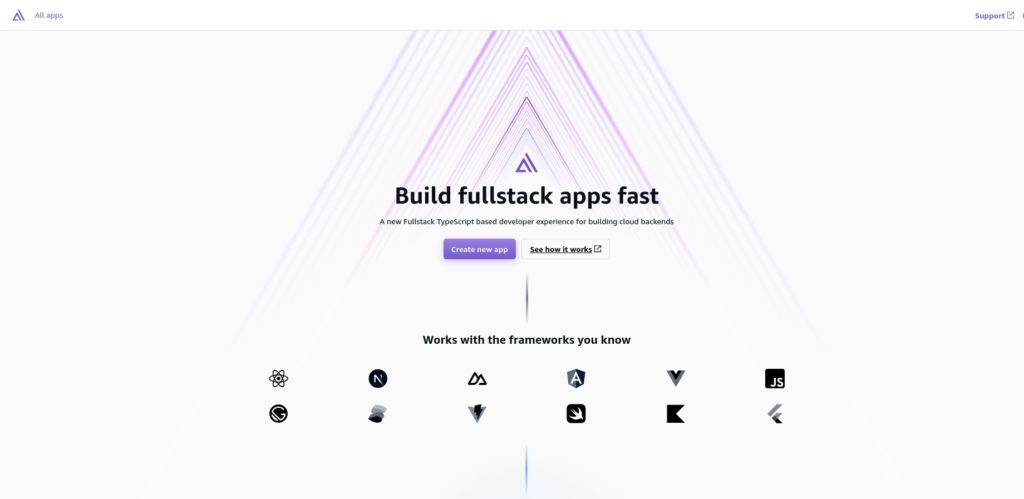
I’m using AWS Amplify to deploy the application. Please navigate to the AWS Amplify console page, and click on Create New App.
Our code is placed in GitHub and we need to select the GitHub as SCM for deployment. Proceed to to next steps and follow the screen.
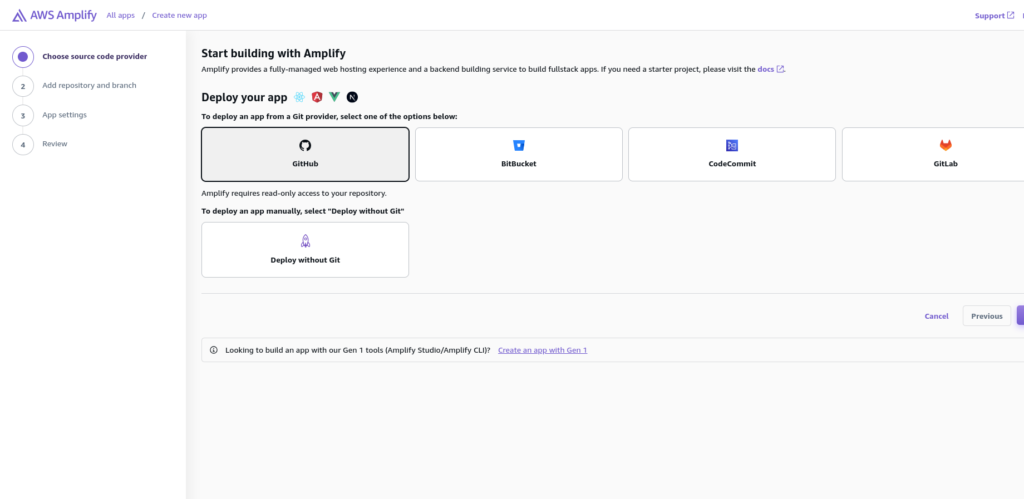
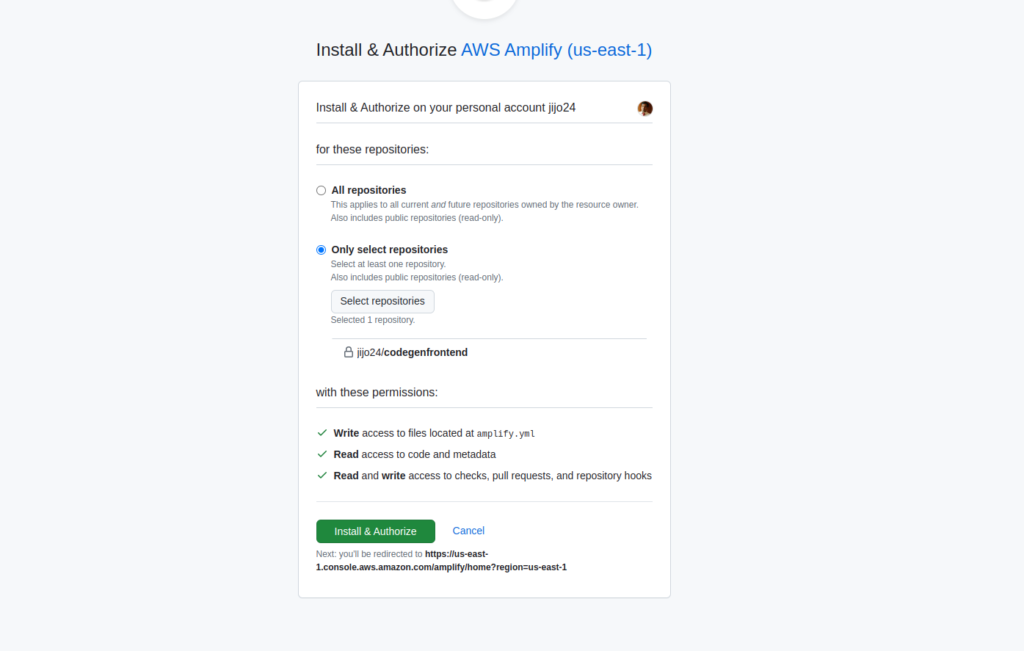
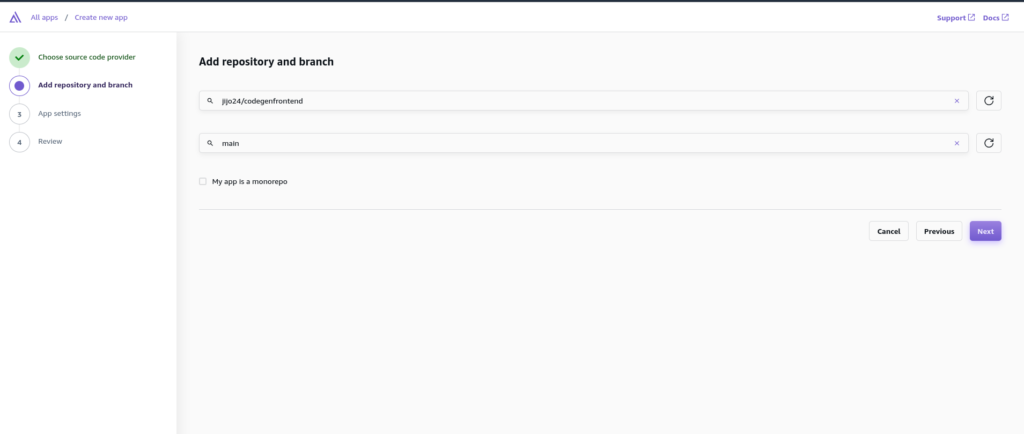
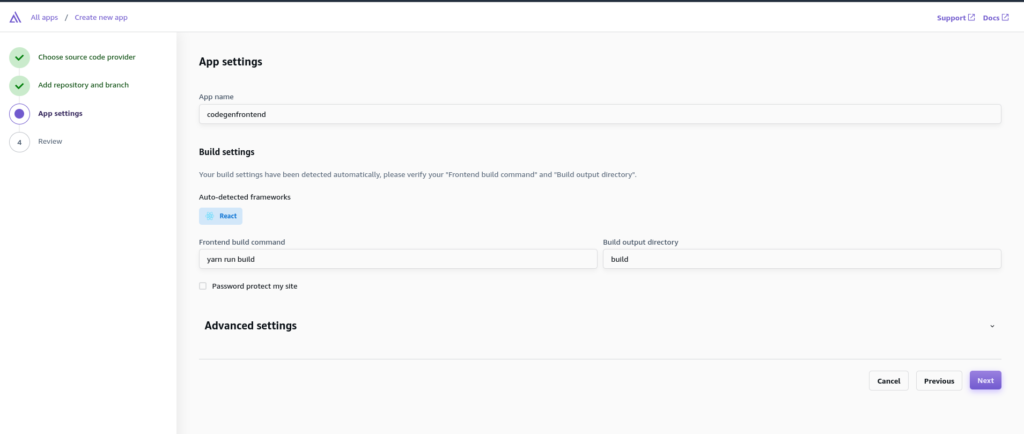
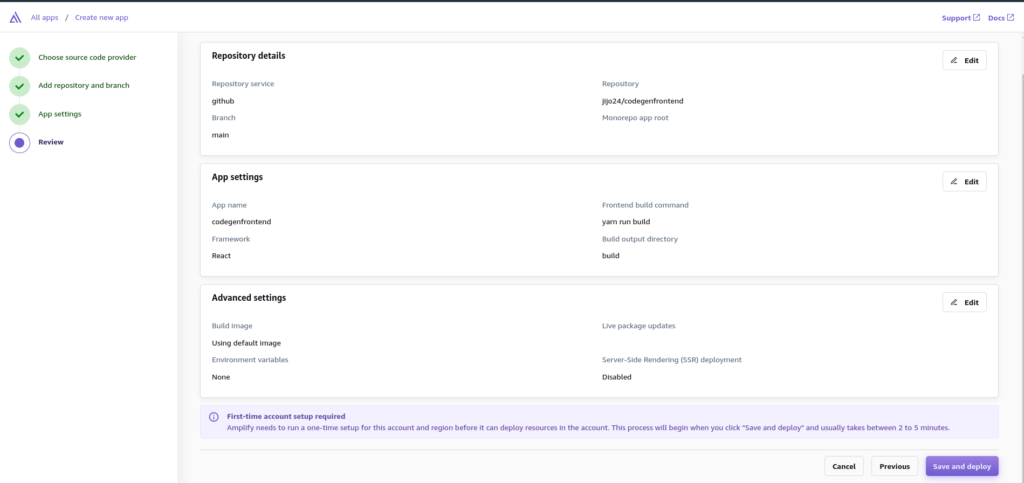
Please closely check the screenshot for each stage above and verify.
if your deployment failed, then you might need to visit the option from the left lane, Hosting->Build Settings->Edit build Image settings-, then in Live Package update, add a new package, select nodejs and version 16.14.0, and save.
Then go to your amplify application main branch, and click on re-deploy version.
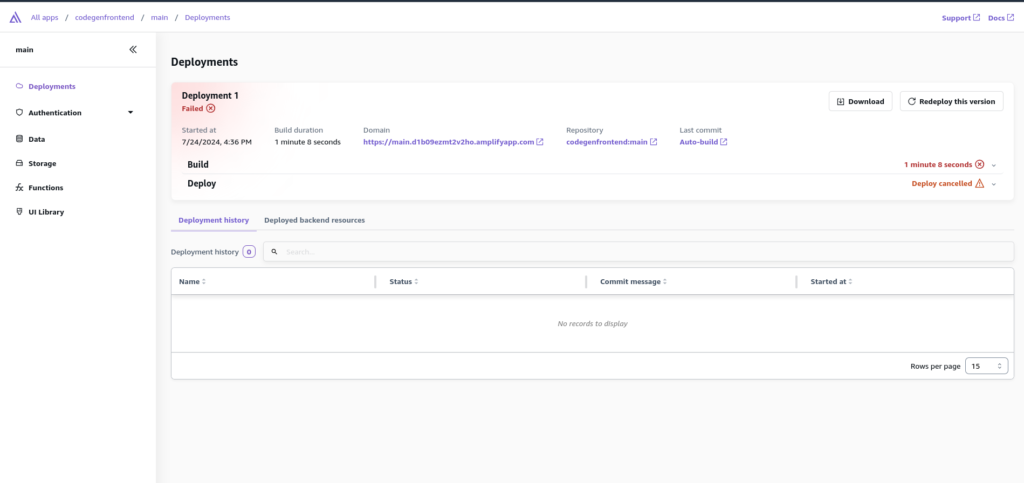
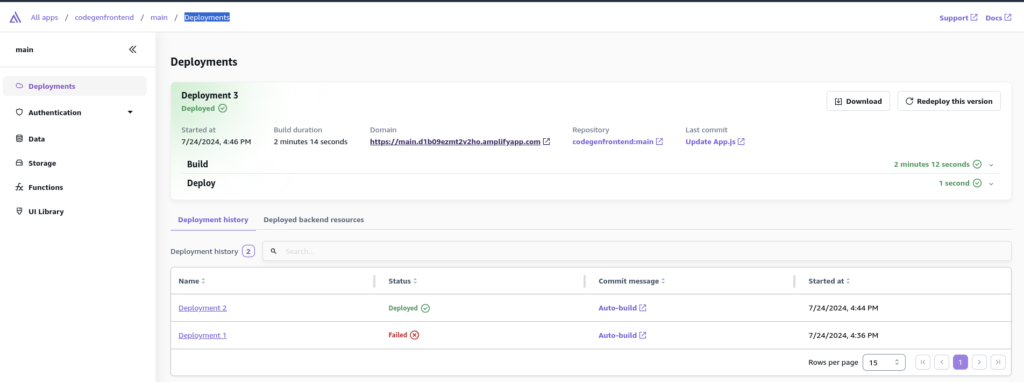
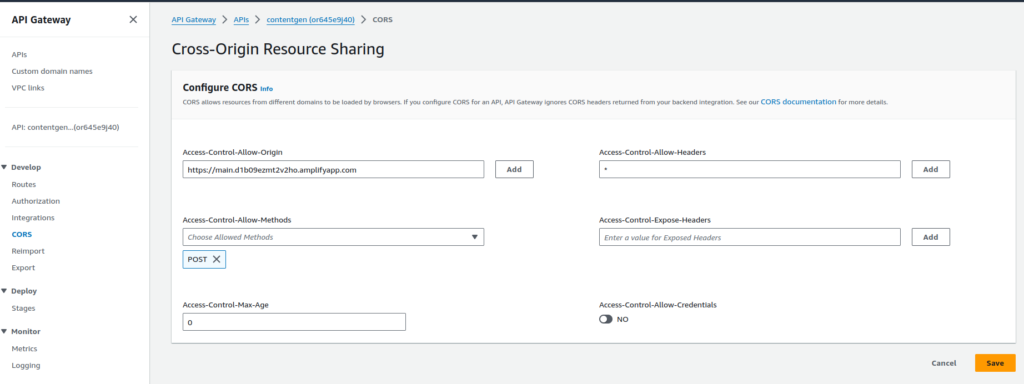
Once the deployment is a success, you need to go back to the API gateway console and select the API that we created before, here we need to configure the cors (option can be seen from the left lane), please see the below screenshot for settings, we need to pass the amplify domain, POST and * options in respective text boxes ADD each option and save, then finally deploy with dev stage as well.
Step 6: Access Demo Application
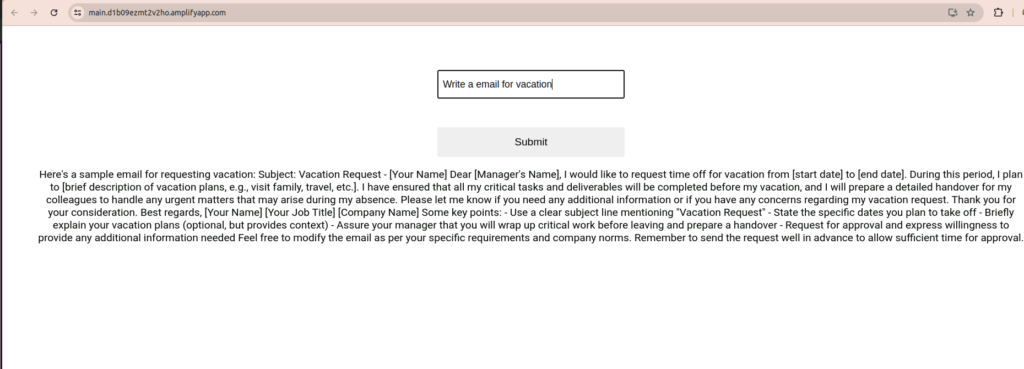
Now you can try to access the amplify domain URL via browser and test with a query.
Conclusion
Here is the list of AWS services we used for this demo
- AWS Bedrock
- Lambda
- API Gateway
- CloudWatch
- Amplify
Additional Tips
You can go Cloudwatch and identify the errors Lambda function and troubleshoot further
This demo required additional security features like, adding authorizations for APIs, custom policy for lambda execution role, Optimize frontend code to access Backend API, etc
You can troubleshoot API calls via Postman to troubleshoot.


